
How to Uninstall Bluestacks
If you’re looking to uninstall Bluestacks step-by-step, then you are in the right place.
Bluestacks is a platform that allows you to play popular games and apps such as Clash of Clans, Candy Crush Saga, Pokemon Go, Subway Surfers, Fortnite, PUBG Mobile, Call of Duty: Mobile, Garena Free Fire, Mobile Legends: Bang Bang and Roblox.
The platform is available both on Windows and macOS.
In this tutorial we will share how you can uninstall Bluestacks on Windows 10 and Windows 11.
Uninstall Bluestacks on Windows 10
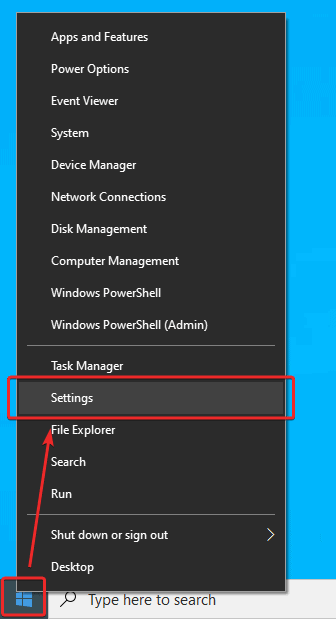
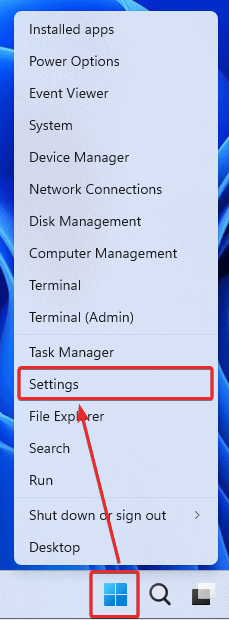
Step 1: Right click on the Windows Icon and choose “Settings”.
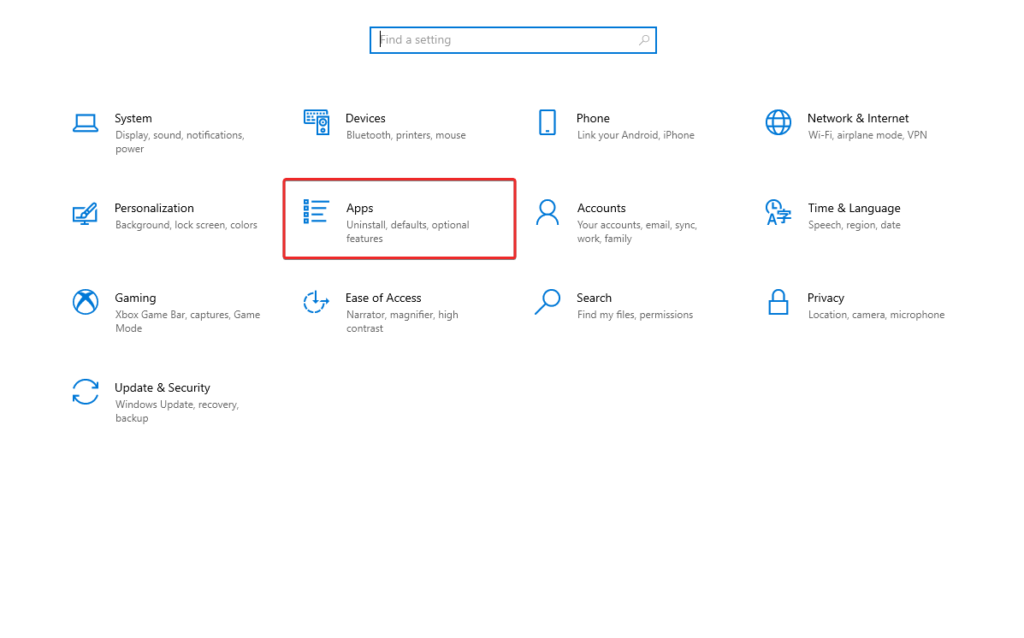
Step 2: On the settings page click on “Apps”.
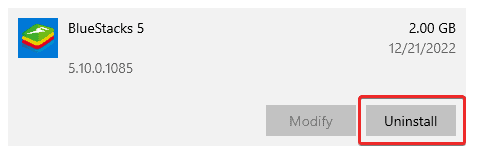
Step 3: Click on “BlueStacks 5” then on Uninstall.
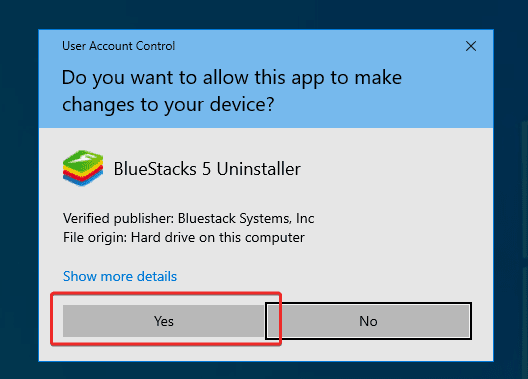
Step 4: On the UAC Prompt click on “Yes”.
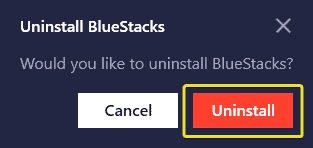
Step 5: On the next window click “Uninstall” and “Uninstall” again.


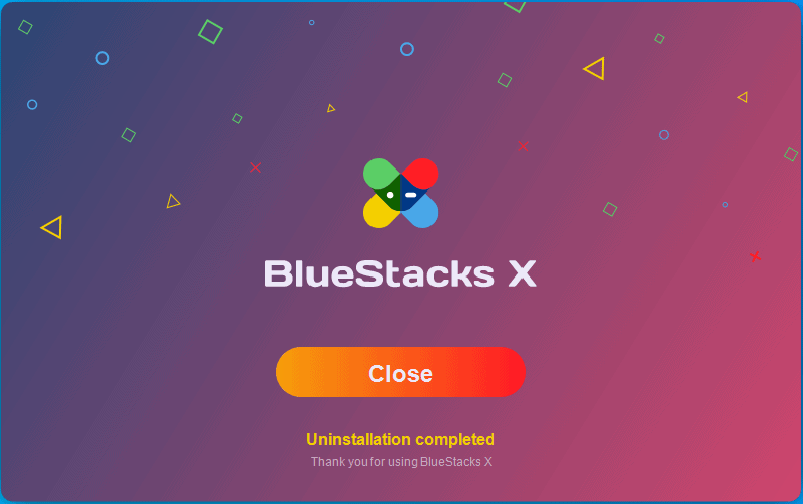
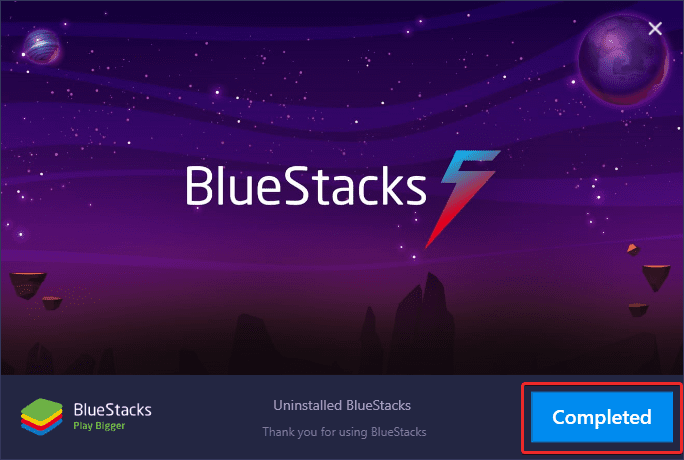
Step 6: After that click on “Completed”.
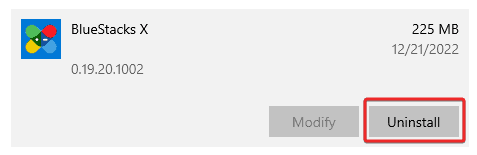
Step 7: Back to the Apps window, search for BlueStacks X and click on Uninstall.
Step 8: On the new popup window click on “Uninstall”.
Make sure you checked “Delete BlueStacks user data”.

Step 9: You have successfully uninstalled BlueStacks on Windows 10.
Step 10: To be 100% sure, restart your computer.
Uninstall Bluestacks on Windows 11
Step 1: Right click on the Windows Icon and choose “Settings”.
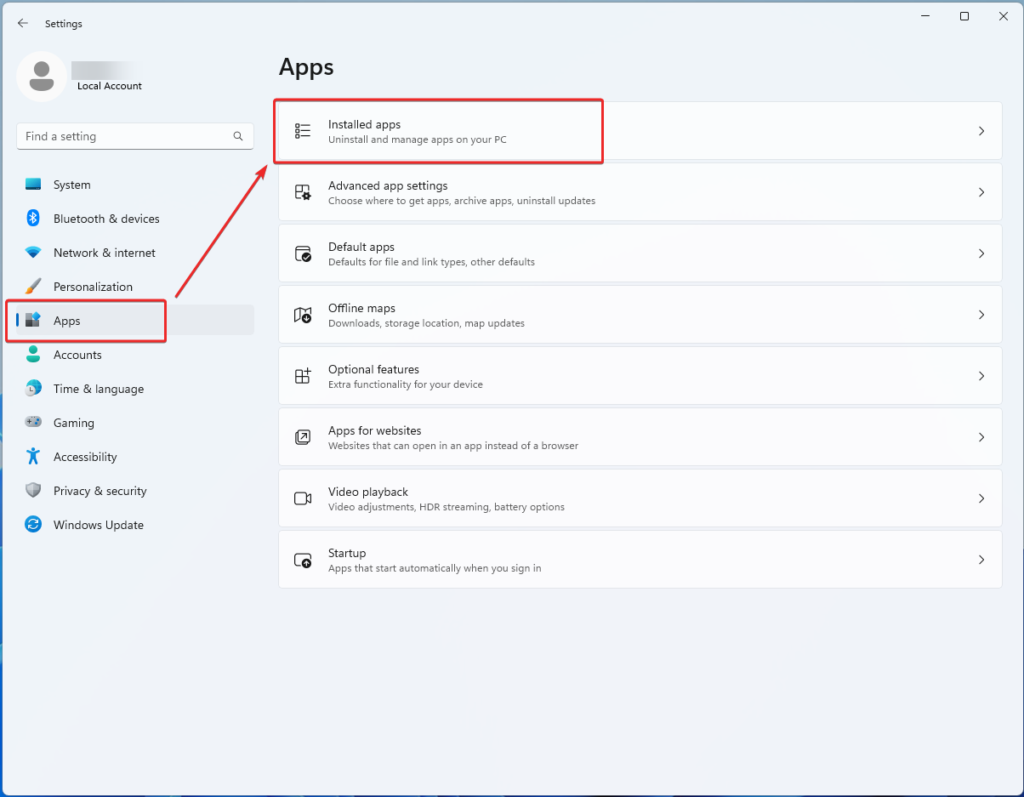
Step 2: In the Settings click on “Apps” then on “Installed Apps”.
Step 3: Now search for BlueStacks 5, click on the 3-dots then “Uninstall”.

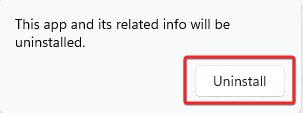
Step 4: Make sure to click Uninstall again:
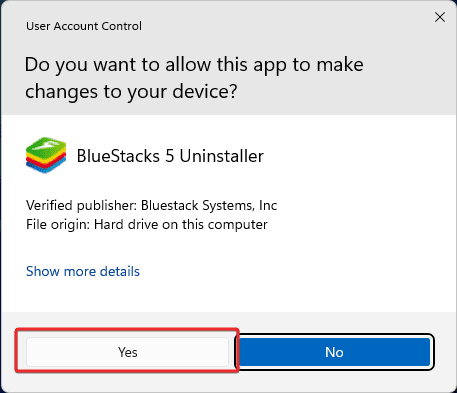
Step 5: On the UAC Prompt make sure you click on “yes”.
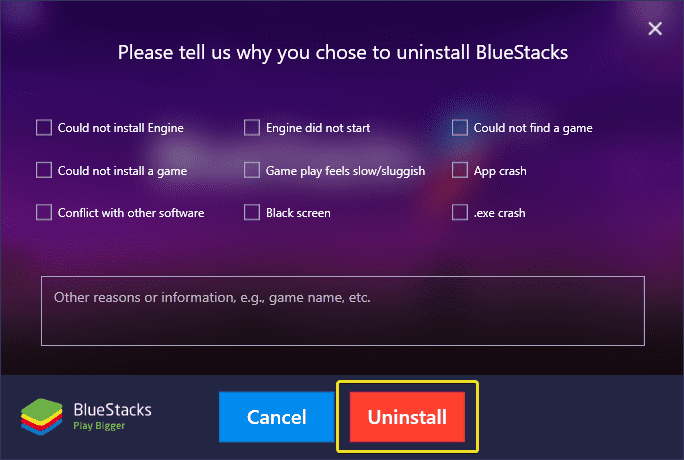
Step 6: On the next window click “Uninstall” and “Uninstall” again.
Step 7: After that click on “Completed”.

Step 8: Back at the Installed Apps window, search for BlueStacks X, click on the 3-dots and click on uninstall.

Step 9: Make sure to click Uninstall again.

Step 10. On the new popup window click on “Uninstall”.
Make sure you checked “Delete BlueStacks user data”

Step 11: You have successfully uninstalled BlueStacks on Windows 11.

Step 12: To be 100% sure, restart your computer.
Now that you have successfully uninstalled Bluestacks, you can explore new hobbies to replace gaming and learn how to overcome your social media addiction if you struggle more with mobile apps.